How to start building a project?
Congratulations! You decided you want to make an Arduino project!
The first thing you need to do is to figure out what you want your project to do.
Let’s say that I always forget to water my plants. A common pain. And I want something to remind me to water them, or even better, I want to build something that will water my plants automatically when they’re dry.
Great. So I have an idea. Now what do I do with it?
So let’s look at the “logic” of making an electronics project with circuito.io (and in general).
The core components of my circuit are input - output - controller - power
Input is the information we get from the environment. It could be sound, moisture, gas levels, height, distance and much more. There are many types of sensors out there and we need to match the sensor to the type of data we want to collect.
Output is the action or reaction we want to create once the sensor receives information from the environment, and it functions according to the code we set, which we’ll explain about in the next step. An output can be a motor, display screen, light, sound and more.
Controller is the brain behind this machine. The controller is programmed to receive the information from the sensors (input), process it, and send orders to the output component.
Power supply - select the power source of your project depending on the components you choose and whether or not you want your project to be mobile or not. Circuito.io will also inform you if you are trying to choose a power supply that isn’t suitable for your circuit.
For more information about how to choose the proper components and power supply - click here
So… if we go back to our example from before; in order to make the plant-watering project, I will need to measure the moisture levels of the soil. I can do this by using a moisture sensor as an input component. I can also decide that I want to check the temperature and amount of light outside, so I will need to use a temperature sensor and a mini photocell sensor.
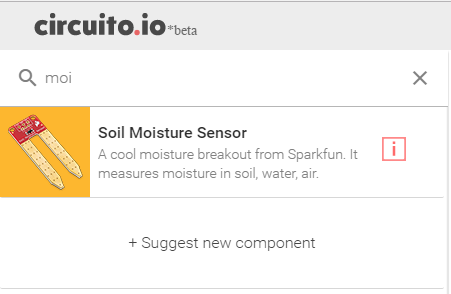
When searching for a component, the first thing you can do is simply search for the type of function you are looking for plus the word “sensor”. So in this case if I type “moisture sensor” in the search bar, I will see this part:

If you can’t find the type of sensor you need using these keywords, then there are two options: Either run a quick search on Google and check if there’s a specific name for this type of sensor, or suggest it as a new component if we don’t yet have it on circuito.io.
And now we’ll turn to the output. If I want my project to beep when the soil is dry, I can connect a speaker. If I want to turn on the water, I can connect it to a solenoid valve or a dc motor.
Per the controller, this is really a matter of practice. The Arduino Uno is the most commonly used controller, but it’s pretty big and has limited memory so you’ll have to take that into consideration when you choose the controller. Be aware that some of the Arduino boards require a bit more work, for example soldering breakouts and such, but they can also allow more complex circuits. You can try looking at some examples and decide.
Once you select the components you want to use, you will find that circuito.io is a great tool for you. The step-by-step guide explains exactly how to connect the circuit so that you don’t need to know that much about electronics to try. The thing is that there are usually more parts than just the core parts you decided to use. You may need to use resistors and logic level converters to make the circuit work. But circuito.io does all these calculations for you, so you can focus on your project.
After you connect everything, take a look at the code section of the answer. At first, this may seem intimidating. So let’s go through it, step-by-step.
First, it’s important to understand that the code you get from circuito.io is a test code which integrates between the components you chose, and creates libraries so they can work together.
If you’ve never worked with code in the past, don’t worry, the first steps are simple. However, if later on you’ll want to upgrade your project to actually do what you want, you will need to do some investigating.
So back to the circuito.io reply: you need to download the code you got, extract it on your computer and upload it to your Arduino. If you don’t have the Arduino IDE you can find it here.
Once you make sure that your Port and Device are correct, you can upload the code. If you run into errors, you can search here, to see common errors and try to debug the problem.
After you upload the code, take a minute to read through the code. While you may not understand everything, you will probably be able to figure out what the code it programmed to do. You can change different parameters to see how the effect your project, but don’t forget to click “upload” every time, or else nothing will change. Once you get the general idea, you can dive into the code by searching for the functions you want on Google, Instructables etc.
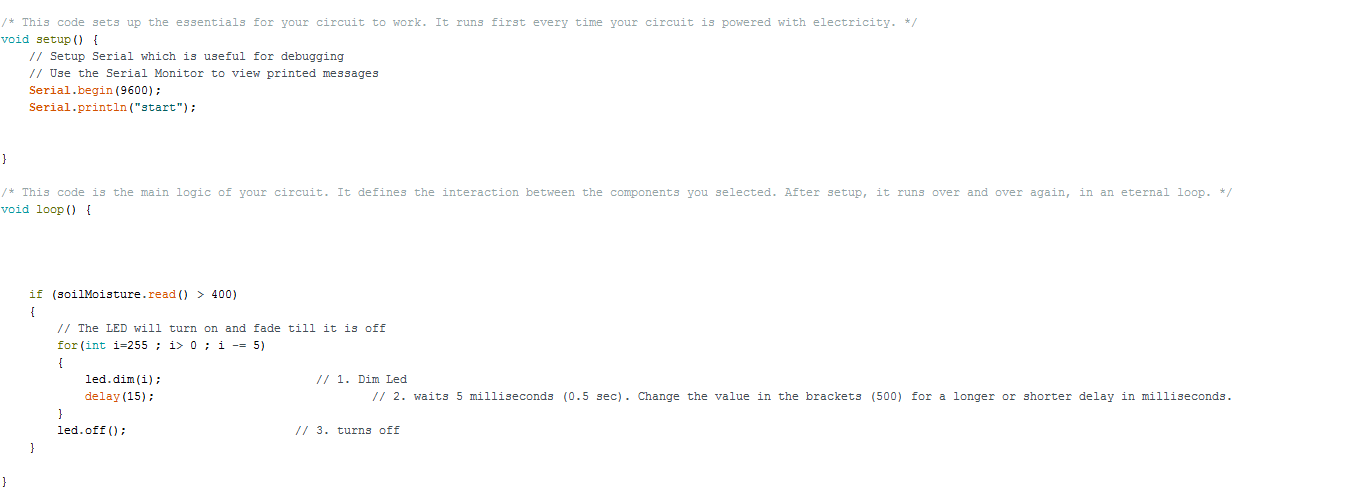
Let’s take the example from before, if we look at the example code we got from circuito.io, when connecting a soil moisture sensor, and an LED, we can see that there are two parts to the code:
“Setup” and “loop”.
As you can see in the comment above the code, the setup runs first every time the circuit is powered. In order to see it work, you will need to open the serial monitor in order to view it.

After the setup runs, the loop will initiate.
The logic is that once the soil moisture sensor reads a level that is higher than 400, the LED will turn on and fade.
At this point, you can start modifying the code. Perhaps change the value from 400 to 200, or try looking for other functions for the sensor or the actuator (output) you’re using.
Good luck and share your projects with us!
We would love to see your progress 
